4 Light Profile
4.1 Access map features by Role
| Functionality | SuperAdmin | Admin | Operator | Reader |
|---|---|---|---|---|
| Lights Profile |  Yes Yes |
Yes |
Yes |
 No No |
| Formatting | Yes |
Yes |
Yes |
No |
| Create, edit, and delete Lights Profile | Yes |
Yes |
No |
No |
| Access to the display of existing Lights Profile | Yes |
Yes |
Yes |
No |
| Managing | Yes |
Yes |
Yes |
No |
| Access to the display of associated Lights Profile | Yes |
Yes |
Yes |
No |
| Associate, Re-associate or Disassociate Lights Profile to Groups or Gateways | Yes |
Yes |
No |
No |
4.2 Formatting
The section allows creating, editing, or deleting different lighting plans, allows establishing daily or weekly plans as needed.
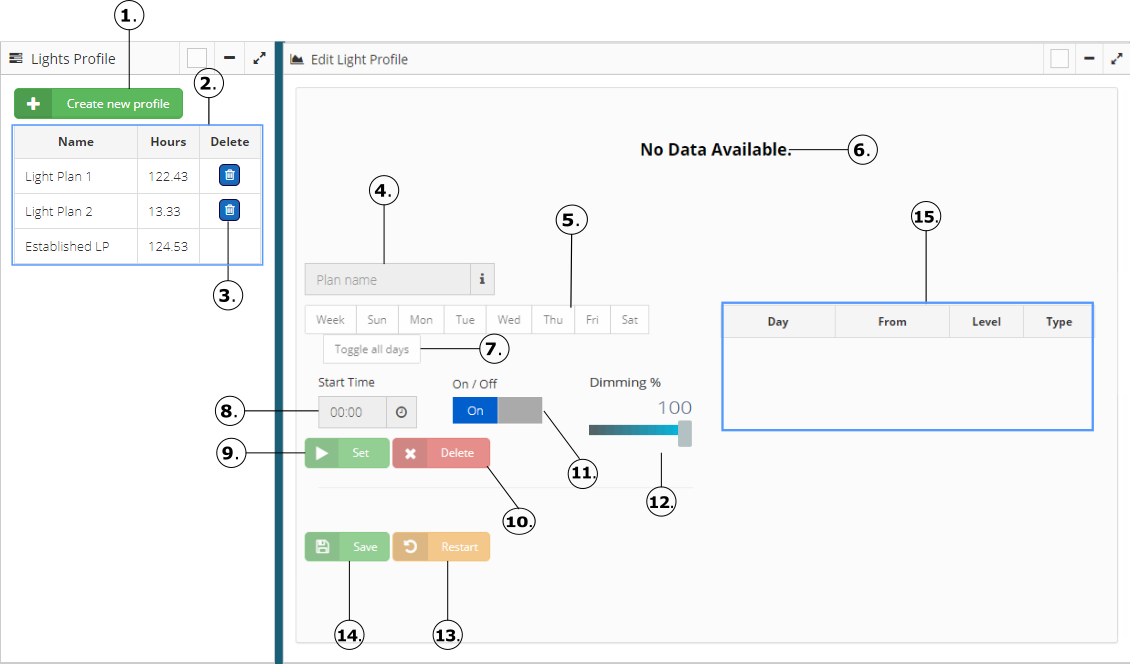
- The button allows to create a new profile for the fixtures. See Create Plan and Events

- The table shows the list of plans (profiles) with the operation hours per daily/week (Hours) created on the site.

- The button allows deleting a plan that is not needed anymore. Before deleting the plan, a confirmation to perform the action will appear. See Delete an Existing Plan
- Text box which allows entering the name of the plan that is going to be created.

- When choosing Daily in the events selection, this table allows to select the day that will be affected with the events.

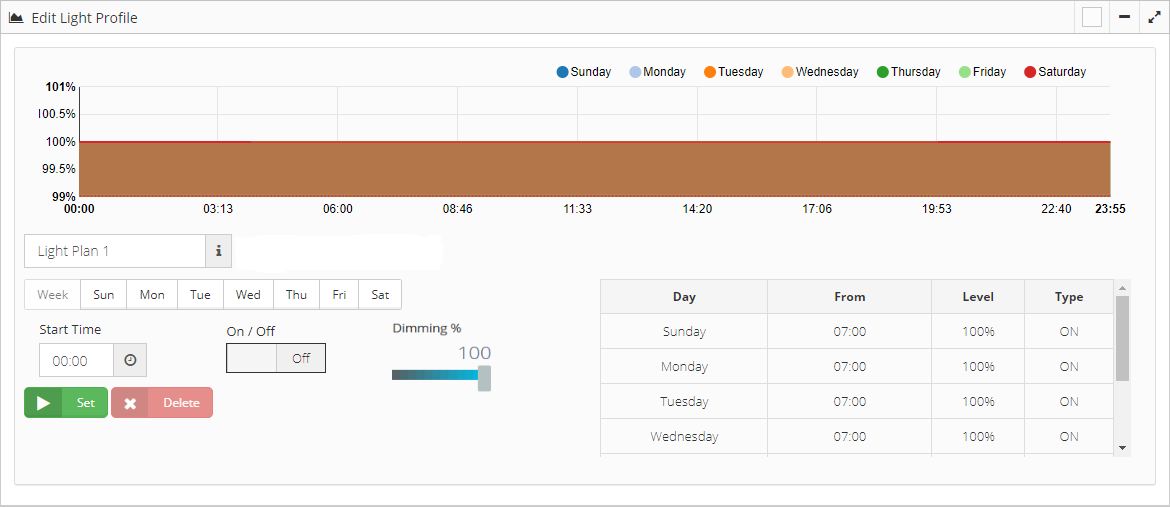
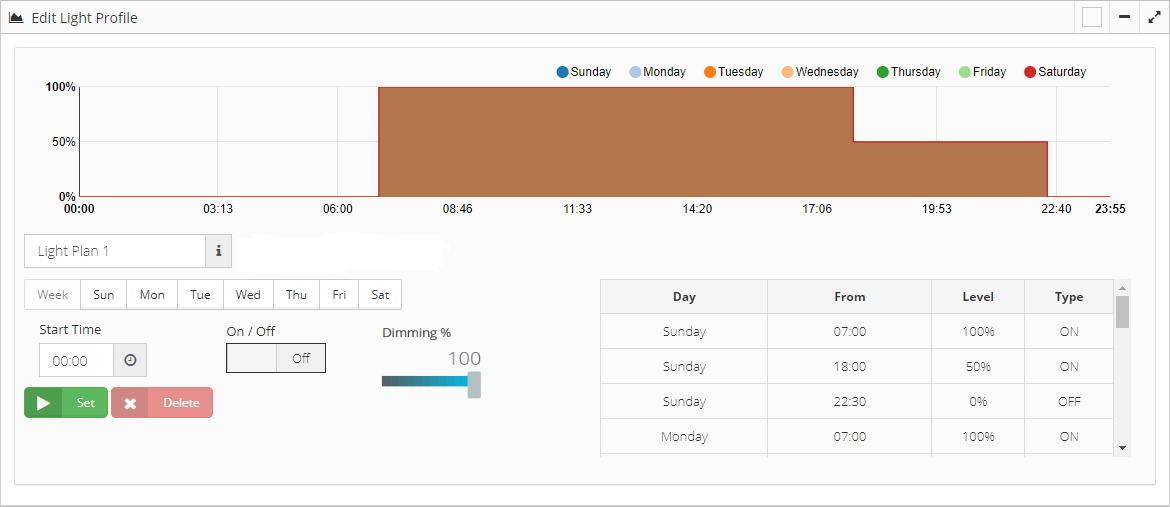
- The Light Profile is displayed in a chart, showing the events assigned to the plan, shows the time and the lighting power (dimming).

- The toggle all days button allow to switch between selected days and unselected.

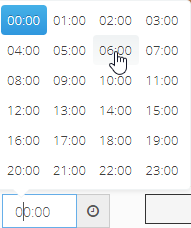
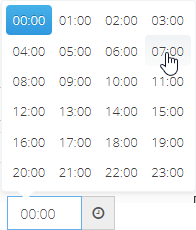
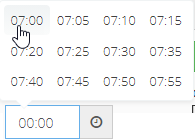
- Allows to define the schedule for each event, the plan can be daily or weekly.
- This button allows to assign the created event to the plan that is being created or modified.

- This button allows deleting an event assigned to the plan, for the action select the event with a click.

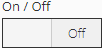
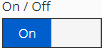
- Allows choosing between an ON or OFF the event, depending on the required need.

- The dimming percentage allow to set up the light level of the event.

- This button allows to reset the plan, deleting all events automatically assigned to the plan. See Restart an Existing Plan

- This button allows saving the changes made to the plan.

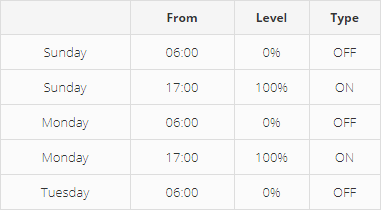
- This table allow to view the events created for the new plan o for the plan selected.
4.2.1 Create Plan and Events
The light plan can be set on a weekly manner (a single ON/OFF event applies for all days of the week) or a more detail configuration can be achieved by selecting the daily type.

Regardless of the type of plan, the DLS management option can be enabled. If enabled, the plan changes automatically week to week according to the DLS table uploaded on the site and the current week number.

The options for creating a new plan are described below:
- Daily, option to create multiple events ON and OFF and which days these events will be assigned. See Daily option
- Weekly, only allows creating an event that indicates the time ON and time OFF. See Weekly option
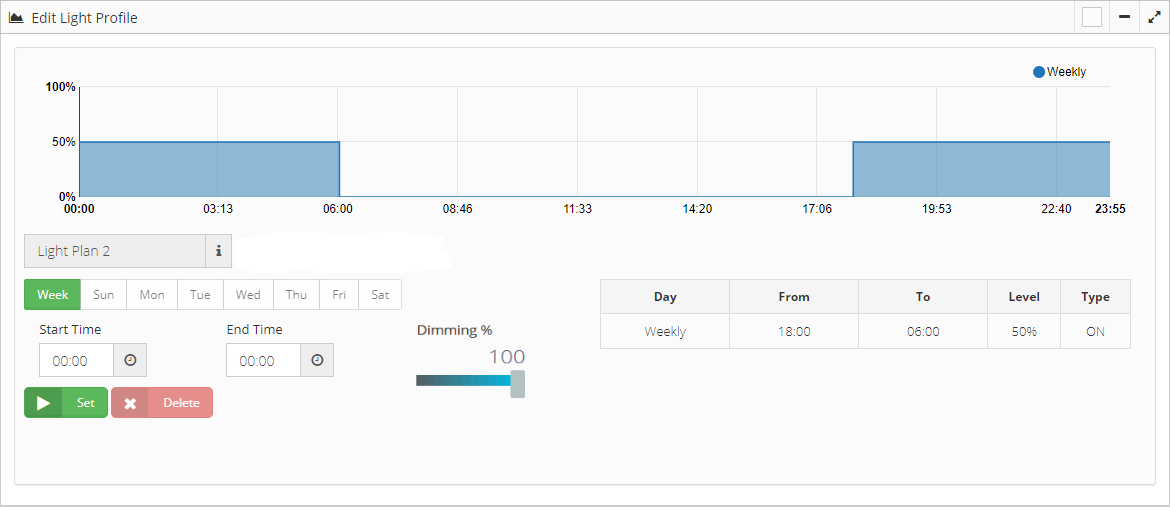
4.2.1.1 Daily Plan
- Enter the Name of the plan

- Assign Power Event (ON): Steps to follow to create the ON events
- Select the days that will hold the event ON.

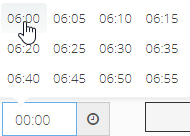
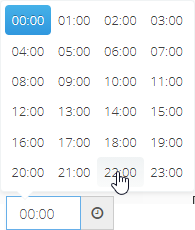
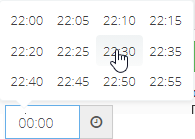
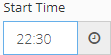
- Enter the time in which the event takes place.

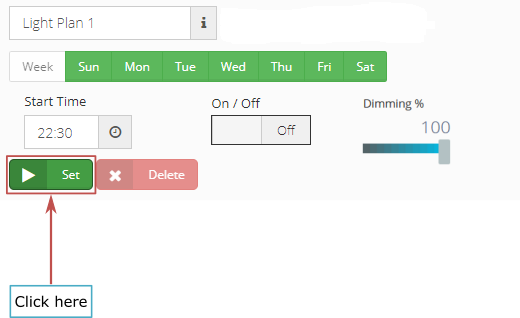
- Select the ON event
- Assign the percentage of dimming that the fixtures should have for that event.

- Press the Set button to assign the event, so that this event is assigned to the plan.
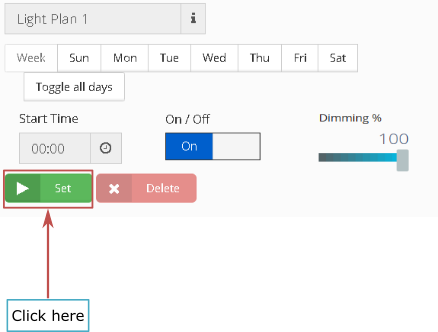
- After setting the event, the plan chart will be update.
- Assign Shutdown Event (OFF): Steps to follow to create the OFF events
- Select the days that will hold the event OFF.

- Enter the time in which the event takes place.
- Select the OFF event

- Press the Set button to assign the event, so that this event is assigned to the plan.
- After setting the event, the plan chart will be update.
- When all the events are created, click the Save button, the plan will be created and a notification message will appear: Light plan saved successfully.

NOTE: All selected days must have at least one ON and OFF events. If any of said events is missing for any day, a warning will be displayed, and the event will not be created.
4.2.1.2 Weekly Plan
- Enter the Name of the plan

- When the plan is weekly, the day selector will disable the individual day options and the “Week” option will be automatically set.

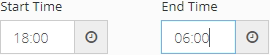
- This plan only allows one event to be created, this has an ON and OFF time. This setting will apply to all days of the week.
- Enter the dimming percentage (Level) at which the fixtures will turn ON. These settings will apply to all days of the week.

- Press the Set button to assign the event, so that this event is assigned to the plan.
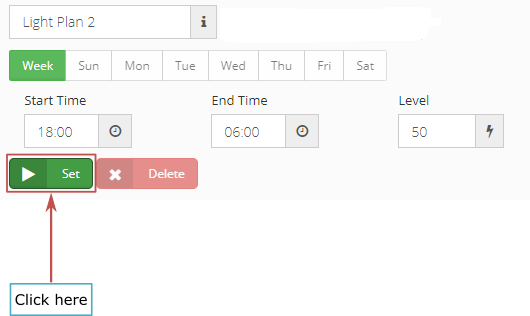
- After setting the event, the plan chart will update.
- When all the events are created, click the Save button, the plan will be created and a notification message will appear: Light plan saved successfully.
4.2.2 Edit Existing Plan
- By clicking on any plan on the list, the plan will load and will be ready for editing.
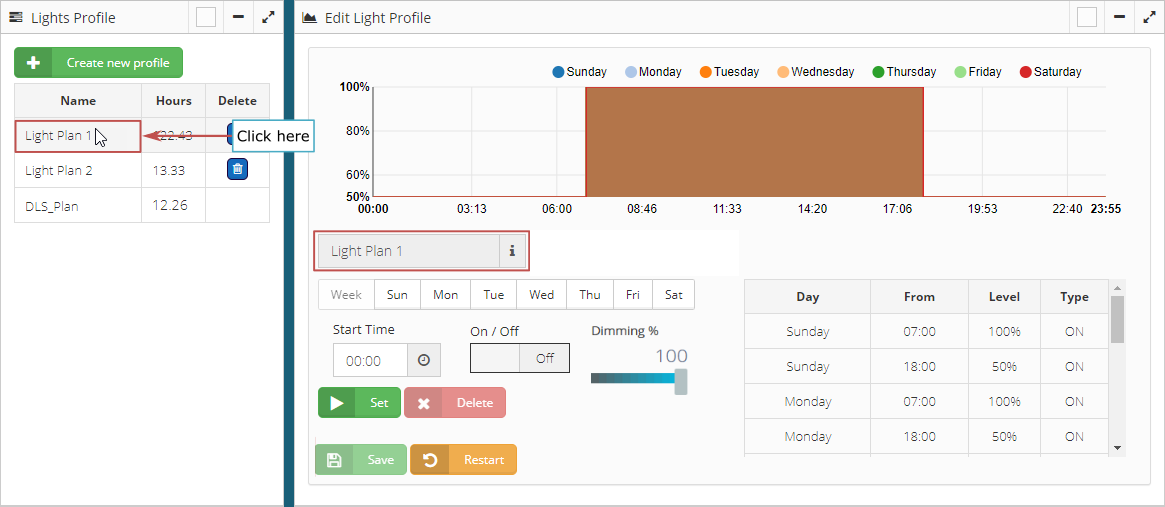
- Unless an event is added or an existing one is removed the Save button will not become available.

- When all the events are created, click the Save button, the plan will be created and a notification message will appear: Light plan saved successfully.
NOTE: In the edition of the plan, name plan cannot be changed.
4.2.3 Restart an Existing Plan
- Restarting an existing plan will erase the content of the plan without deleting it. The button will become available once an existing plan is loaded.
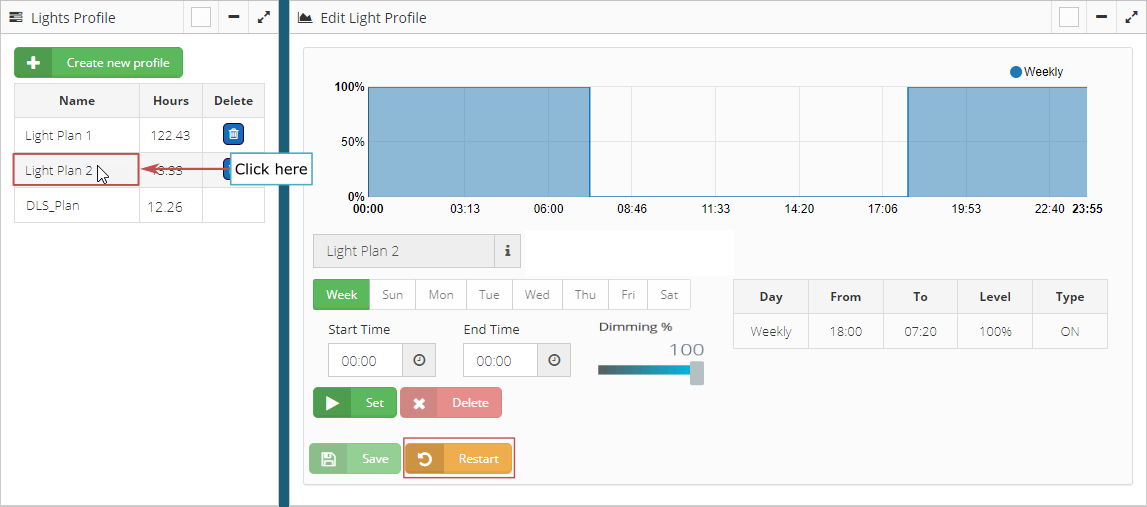
- A confirmation message will appear before the plan is restarted.

- Once the restart operation is done, the plan will be empty, causing it to prompt the type of plan that wants to be created. It is the same workflow that was used when creating a new plan. See Create Plan and Events
NOTE:
Keep note that at restarting, will allow to change a plan from Daily to Weekly type and vice-versa, but the DLS option cannot be changed. If the original plan was set with DLS enabled, the restarted plan will remain with said option enabled, the same for a plan that was set without DLS (Disabled).
This operation is destructive. Once the restart is confirmed, the previous events of the plan will be deleted and there is no way to get them back.
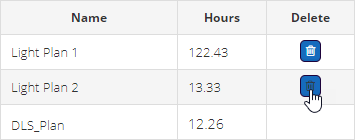
4.2.4 Delete an Existing Plan
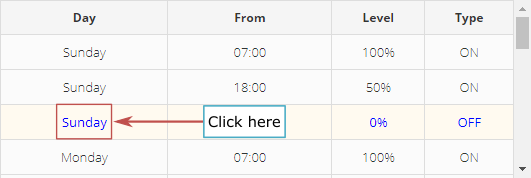
- Deleting an existing plan is done by clicking on the delete button.
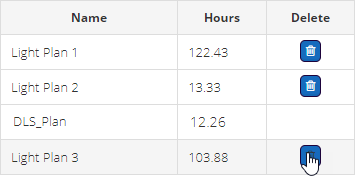
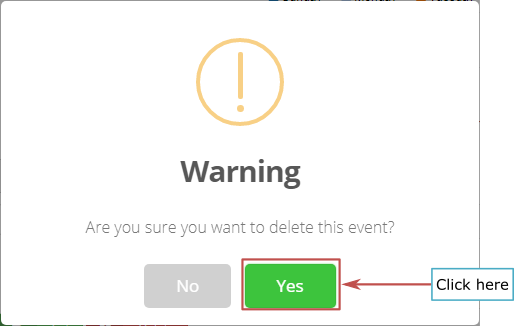
- A confirmation message will appear before the plan is deleted.
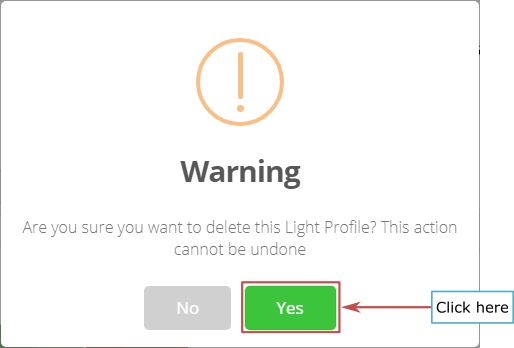
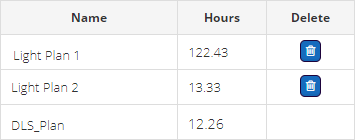
- Once the plan is deleted a confirmation will be displayed and the list of plans will refresh automatically.

4.2.5 DLS Light Plan (DLS_Plan)
It is a special lighting plan managed in Settings > Functionality. You can only view the plan in this section, so that the set of plans configured on the site is listed.
NOTE:
- DLS_Plan cannot be edited,

- cannot be deleted,

- and cannot be associated to a group.
4.3 Managing
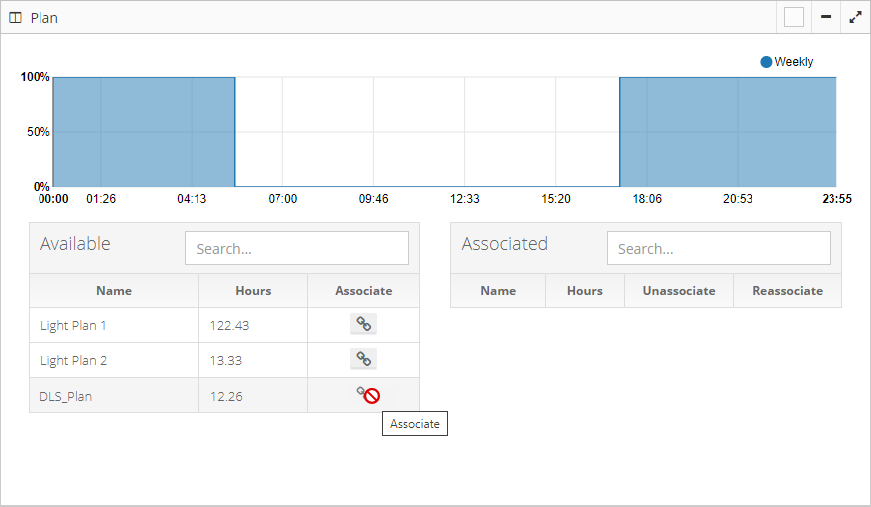
Allows to associate, reassociate or unassociate existing lighting plans, to a group or set of groups.
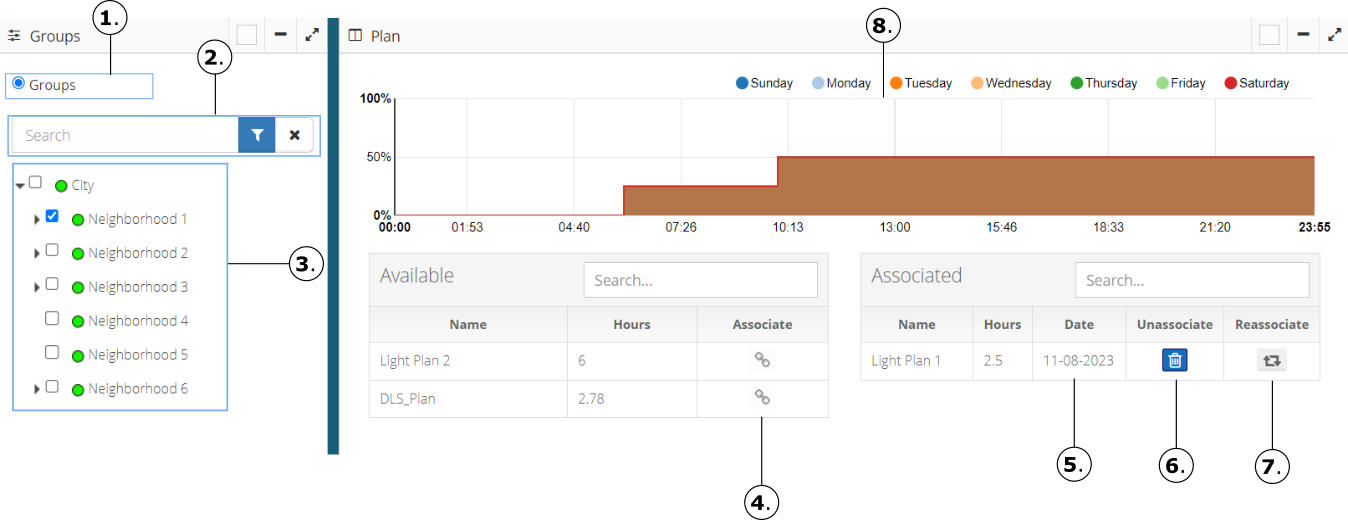
Radio Options, select the option Group.
Allows a quick search of Groups.
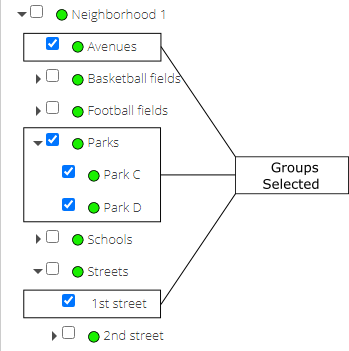
Tree view of the Groups available for the current site. Click on the Group or Groups to which you want to associate, reassociate or disassociate a plan.
Associate a plan, click on the button of the list of plans available to associate. See Associate Light Profile
Shows the last date of association or the last changes saved of the light profile associated.
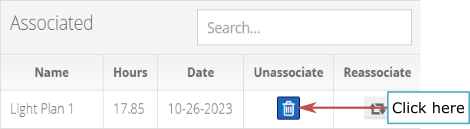
Unassociate a plan, click on the button of the list of plans already associated. See Unassociate Light Profile
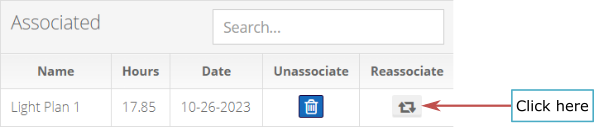
Reassociate a plan, click on the button of the list of plans already associated. See Reassociate Light Profile
Visual representation (preview) of any selected plan.
4.3.1 Associate Light Profile
- To associate a plan, select a Group or Groups in the left panel, under Available Plans, click the Associate button to execute the action.

A confirmation pop-up will appear before the changes are made:

If confirmed, the process will run in the background until it is completed. When the process is completed, a confirmation message will appear.


4.3.2 Unassociate Light Profile
- To unassociate a plan, select a Group or Groups in the left panel, under Associated Plans, click the Unassociate button to execute the action.
A confirmation pop-up will appear before the changes are made:

If confirmed, the process will run in the background until it is completed. When the process is complete, a confirmation message will appear.


4.3.3 Reassociate Light Profile
- To reassociate a plan, select a Group or Groups in the left panel, under Associated Plans, click the Reassociate button.
A confirmation pop-up will appear before the changes are made:
If confirmed, the process will run in the background until it is completed. When the process is complete, a confirmation message will appear.

