1 Login & Main screen of the site
1.1 Login
Allows the user to enter the options of the WEB-GUI with the corresponding permissions already assigned.
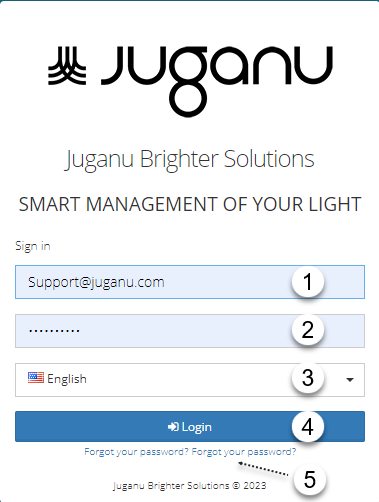
Enter the authorized email address.
Enter the authorized password.
Choose the site language from the list of available languages.
Click the button to log into the web application, enter the email and password to access. See Site Selection
Click the link Forgot your password? Follow the steps to reset the password. See Reset Password
NOTE: If login data is not entered correctly, an alert message will be shown indicating that the email or password is incorrect.

NOTE: The system is designed to detect if you are trying to login from another location or browser, in that case you will logged out on first location.

1.2 Login with two-factor authentication
Allows the user to enter the options of the WEB-GUI with the corresponding permissions already assigned, through two-factor authentication.
1.2.1 First Factor Authentication
Enter the authorized email address.
Enter the authorized password.
Choose the site language from the list of available languages.
Click the button to continue with the two-step authentication, a message will be displayed indicating that the verification code has been sent to the email to continue the authentication in the web application.
Click the link Forgot your password? Follow the steps to reset the password. See Reset Password
NOTE:
- Message indicating that the verification code has been sent to the email.

- If login data is not entered correctly, an alert message will be shown indicating that the email or password is incorrect.
1.2.2 Second Factor Authentication
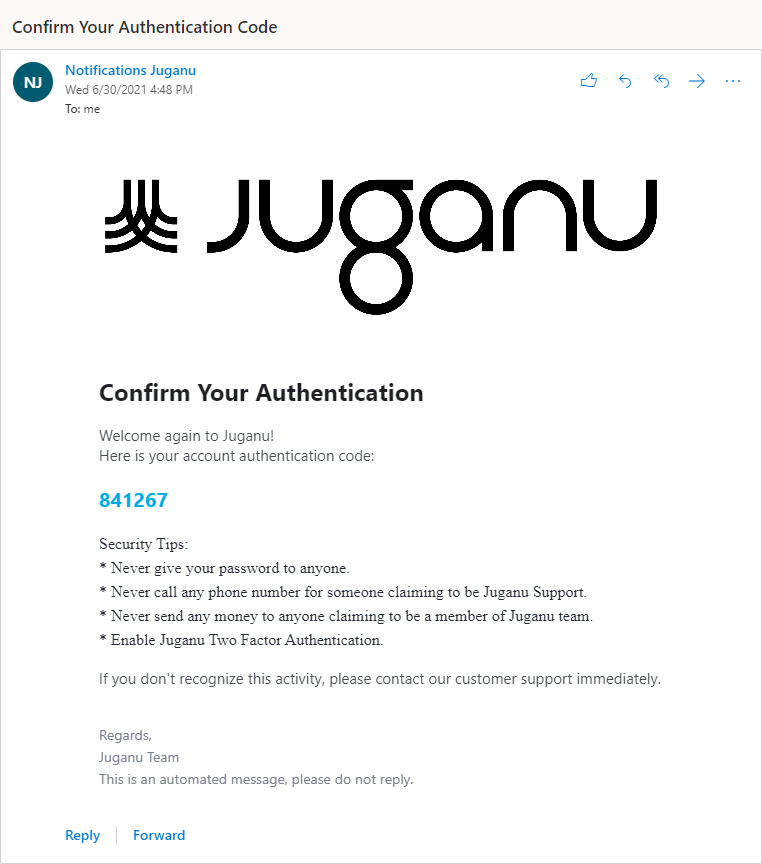
Check the email inbox entered in first factor authentication and follow the instructions. Below, an example of the instructions sent.
In the following window, enter the verification code:
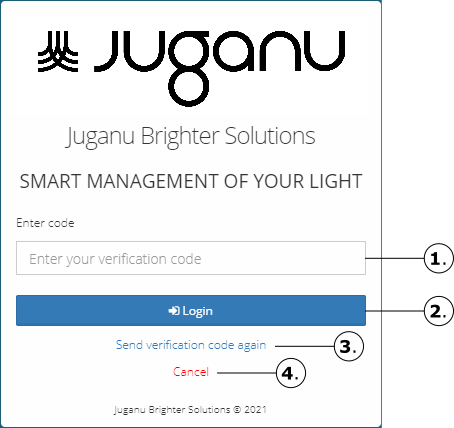
Enter the authorized verification code.
Click the button to log into the web application, enter the email and password to access. See Site Selection
Click the link Send verification code again and check your email inbox.
Click the link Cancel to finish the Login in the application web.
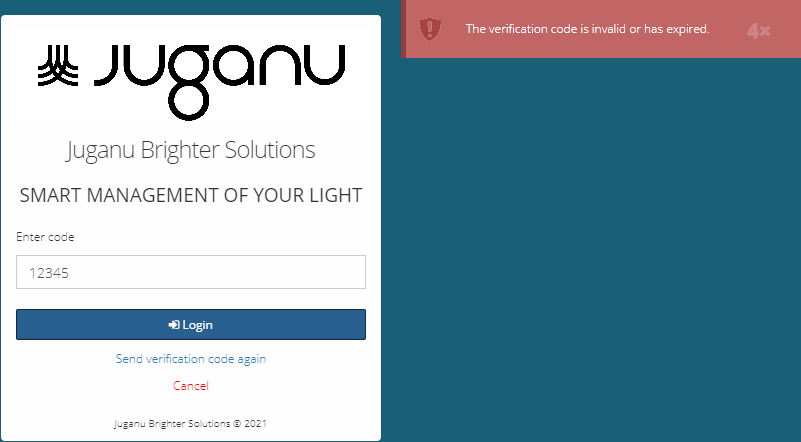
NOTE: If login data is not entered correctly, an alert message will be shown indicating that the verification code is invalid or has expired. The verification code must be used in the next 5 minutes, then it will expire.
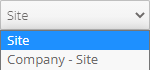
1.2.3 Site Selection
After logging in, choose the site to enter and manage in the site selection window.
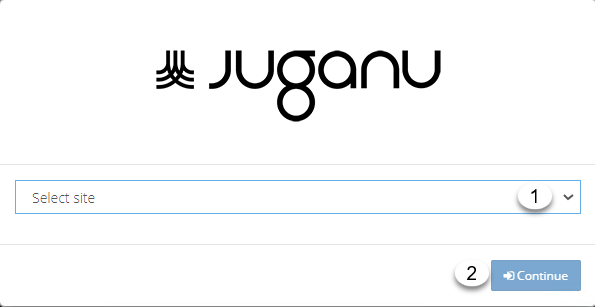
Choose the site to manage in the web application from the list of available sites.
Click the button to enter and manage the site.
1.2.4 Reset Password
If the password to access the web application is forgotten, click on the link Forgot your password? and follow the instructions below:
Step 1
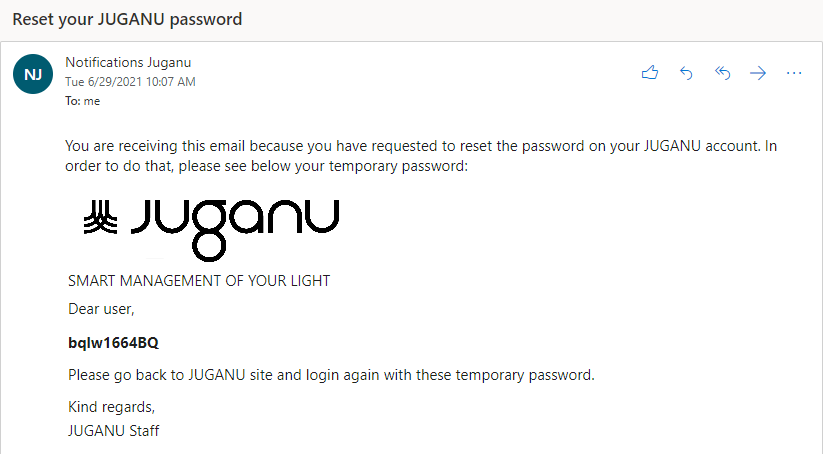
Enter the email address that needs to restore the password and a temporary password will be received.
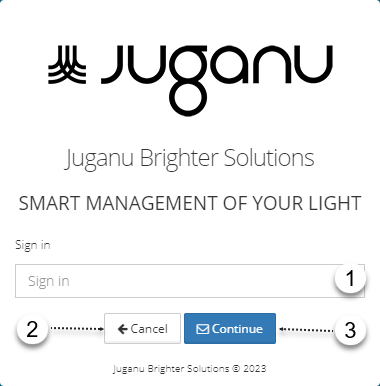
Enter the authorized email address.
Click the button to cancel the operation and the login screen will be shown.
Click the button to continue resetting the password. An information message will be shown, indicating that the instructions have been sent to the email.

Step 2
Check the email inbox entered in step 1 and follow the instructions. Below, an example of the instructions sent.
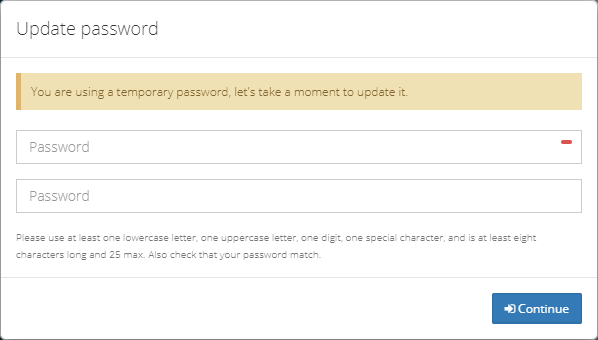
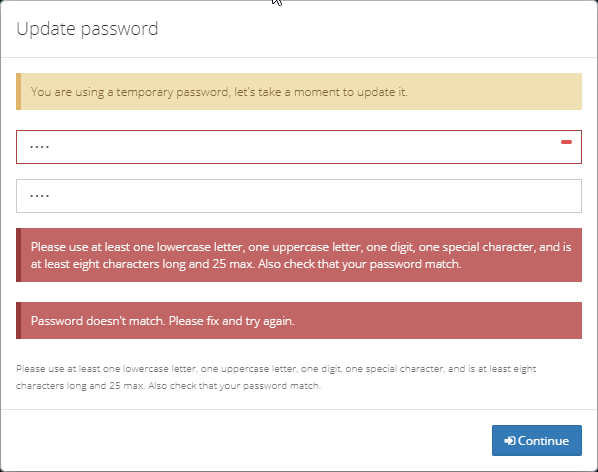
Step 3
Enter the email address and the temporary password, and then click the Login button. A pop-up window will be shown to enter the new password.
When updating the password correctly, the following message will appear:

NOTE
- The password must match in the fields where the new password is requested. The password must have at least one lowercase letter, one uppercase letter, one digit, one special character, and at least 8 characters long and 25 max. The only special characters allowed are: . ! @ # $ % *.
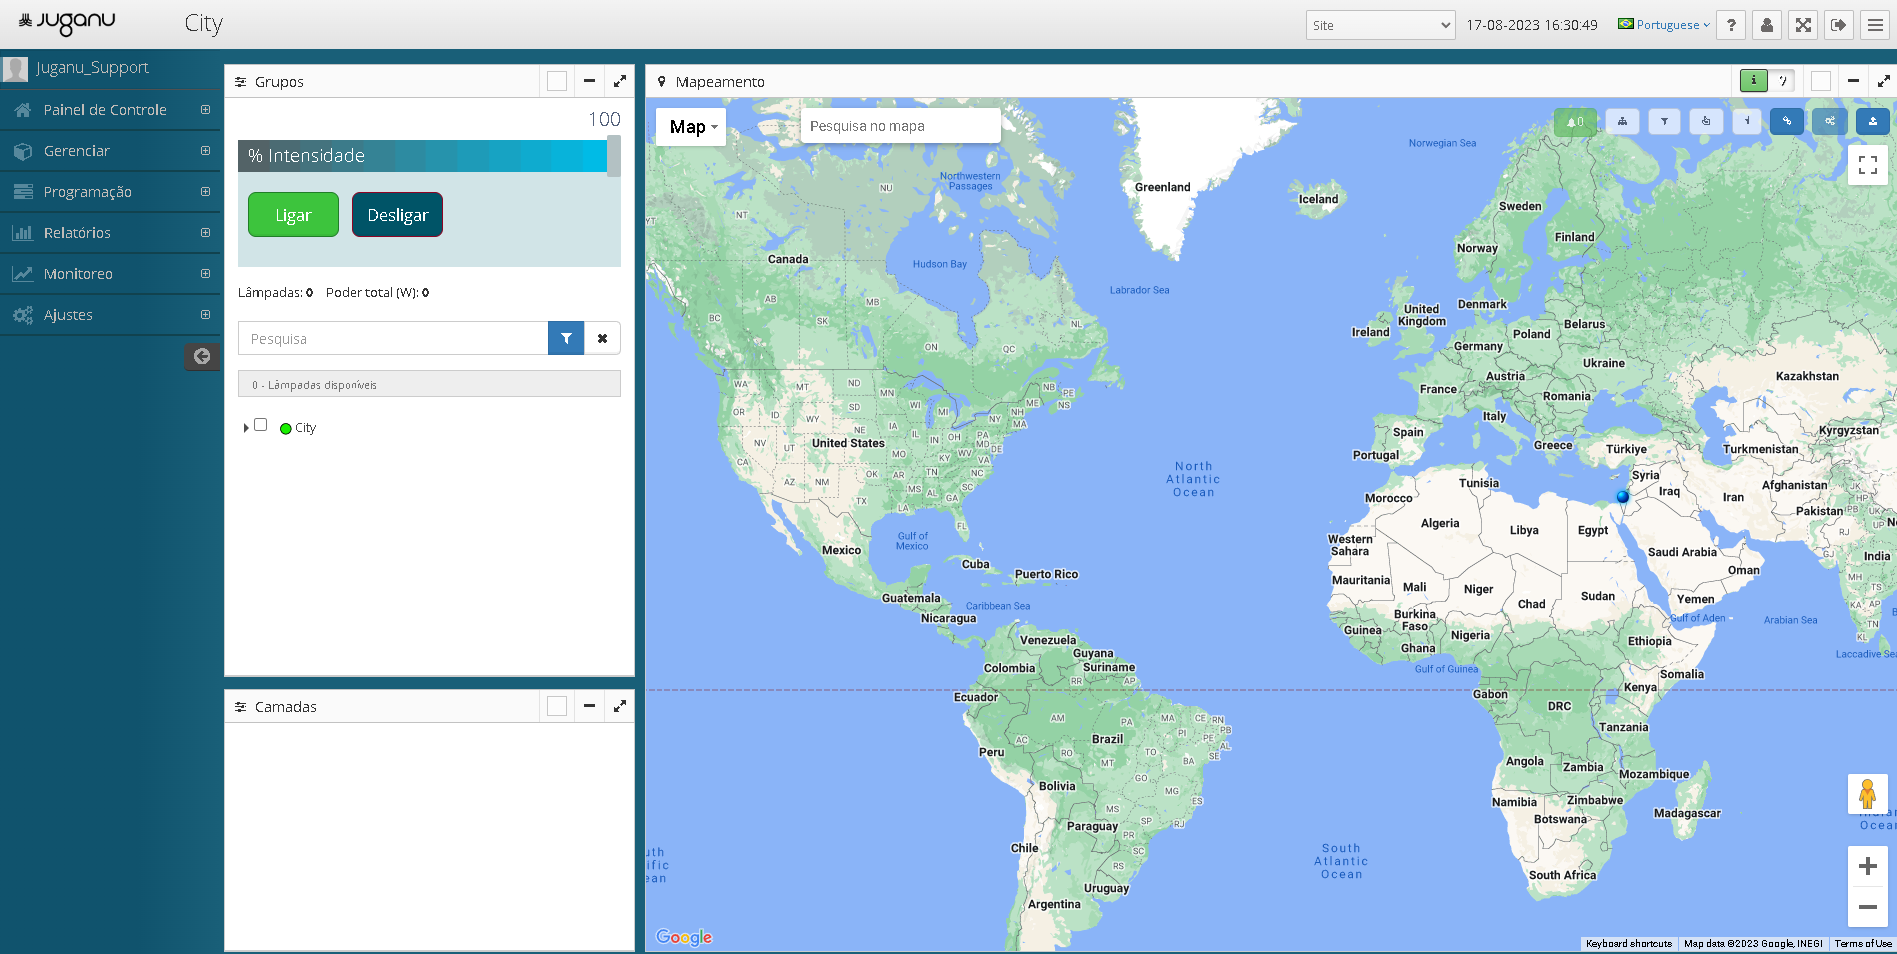
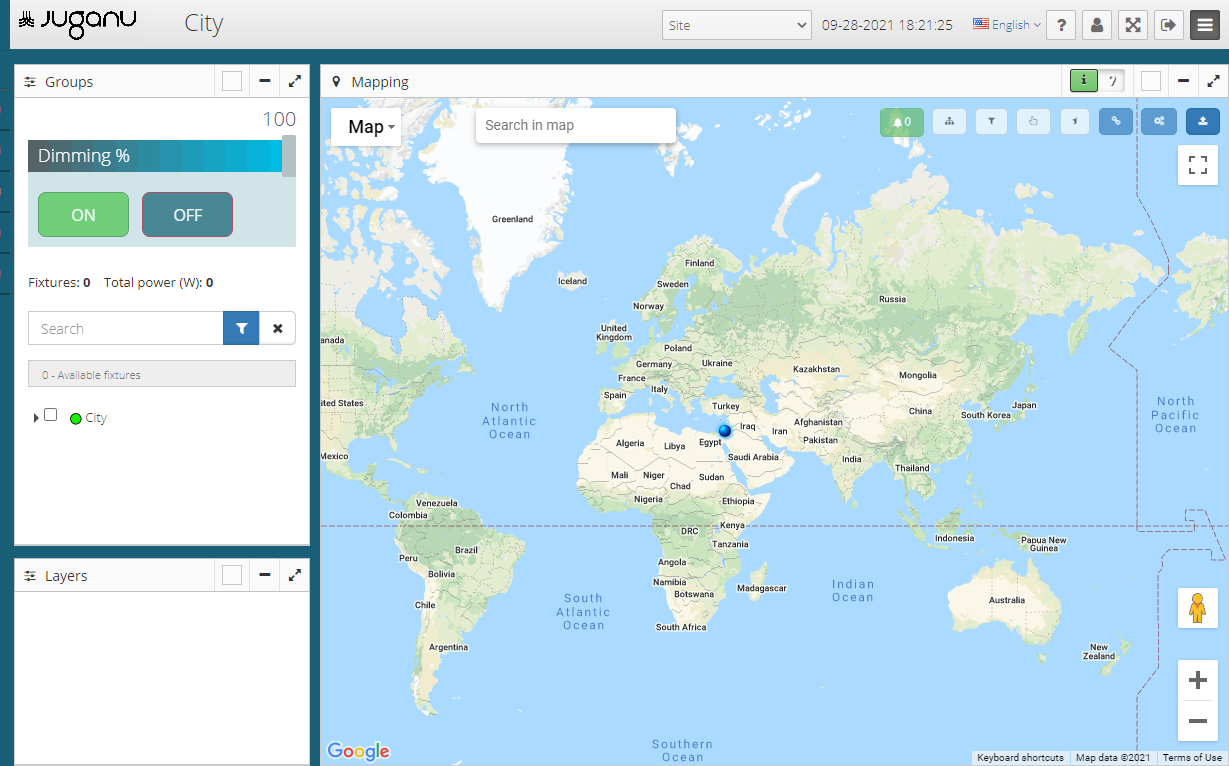
1.3 Main site screen
This is the main screen that will be shown after the login.

1.3.1 Top Panel

Juganu logo
Shows the name of the site.
Displays the sites list that were assigned to the user
Displays the local time and date of the site.
Language selection tool. The options list allows changing the language used in the application immediately.
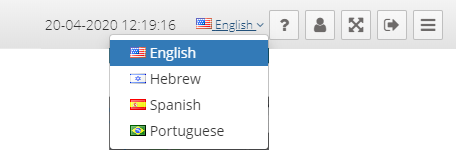
Example of website display with the English language selected.

Example of website display with the Hebrew language selected.

Example of website display with the Spanish language selected.

Example of website display with the Portuguese language selected.
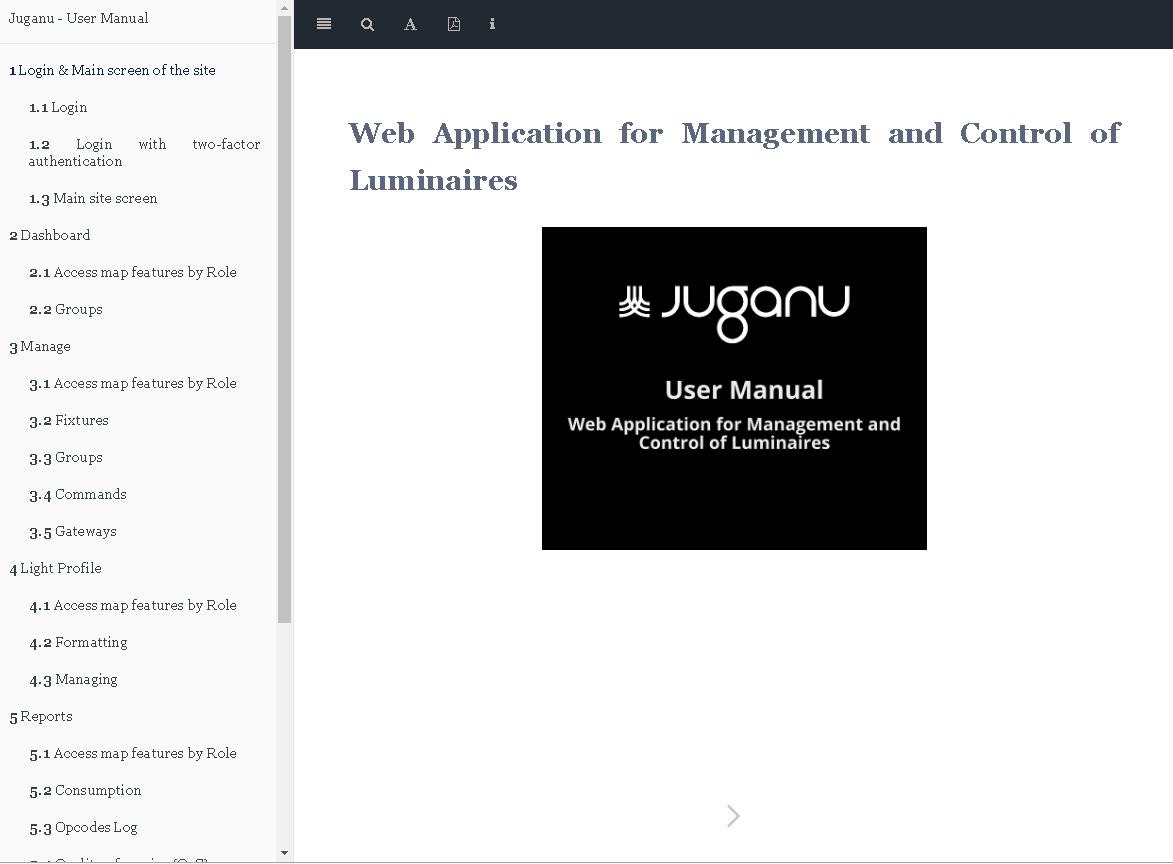
- Allows viewing the user manual, based on a list of defined languages.
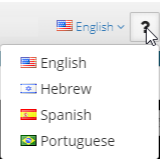
Example of user manual display in the English language.
Example of user manual display in the Spanish language.
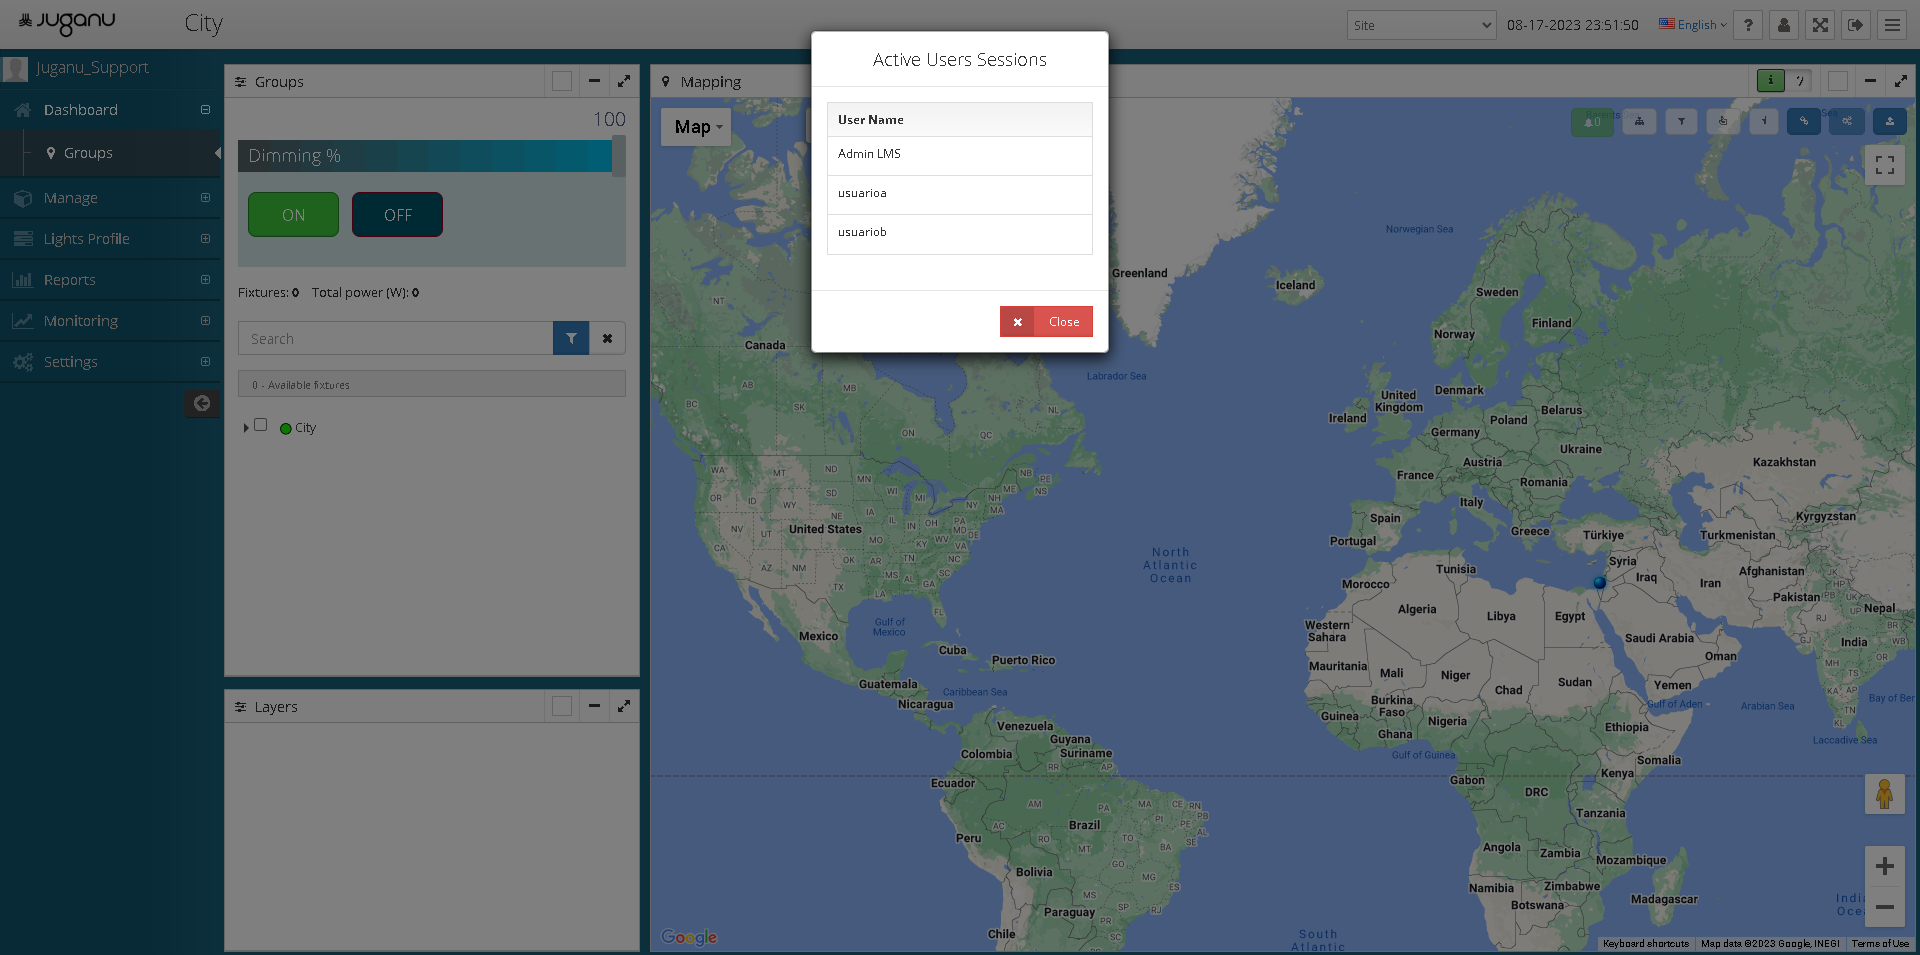
- Displays a list of users who have an active session on the website.
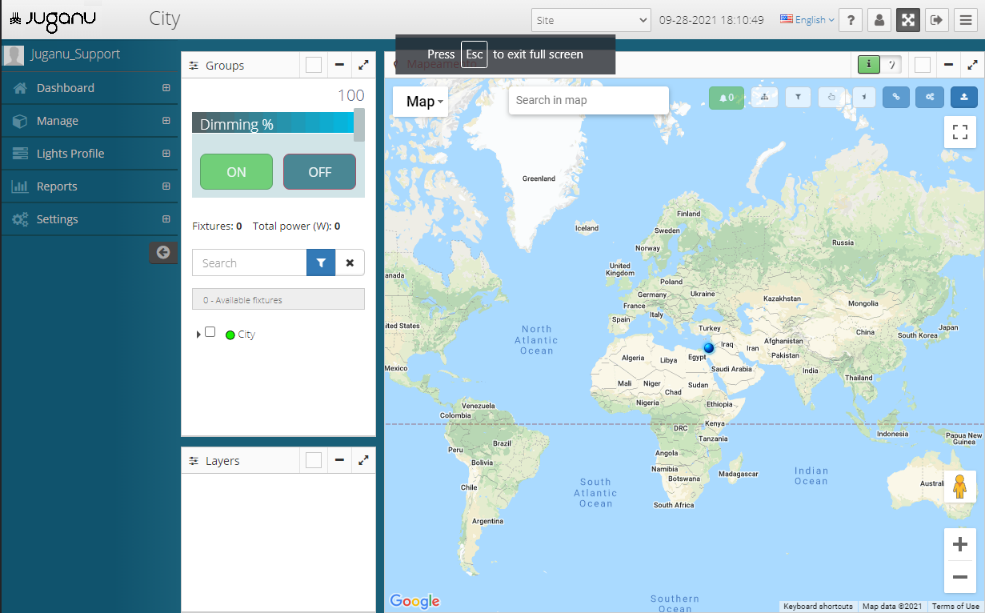
- Displays the full screen of the site.
Ends the current session and exits the application.
Shows or hides the left navigation panel.

1.3.2 Footer Panel

Label Juganu Brighter Solutions Copyright 2021.
Displays the current version of the Website.
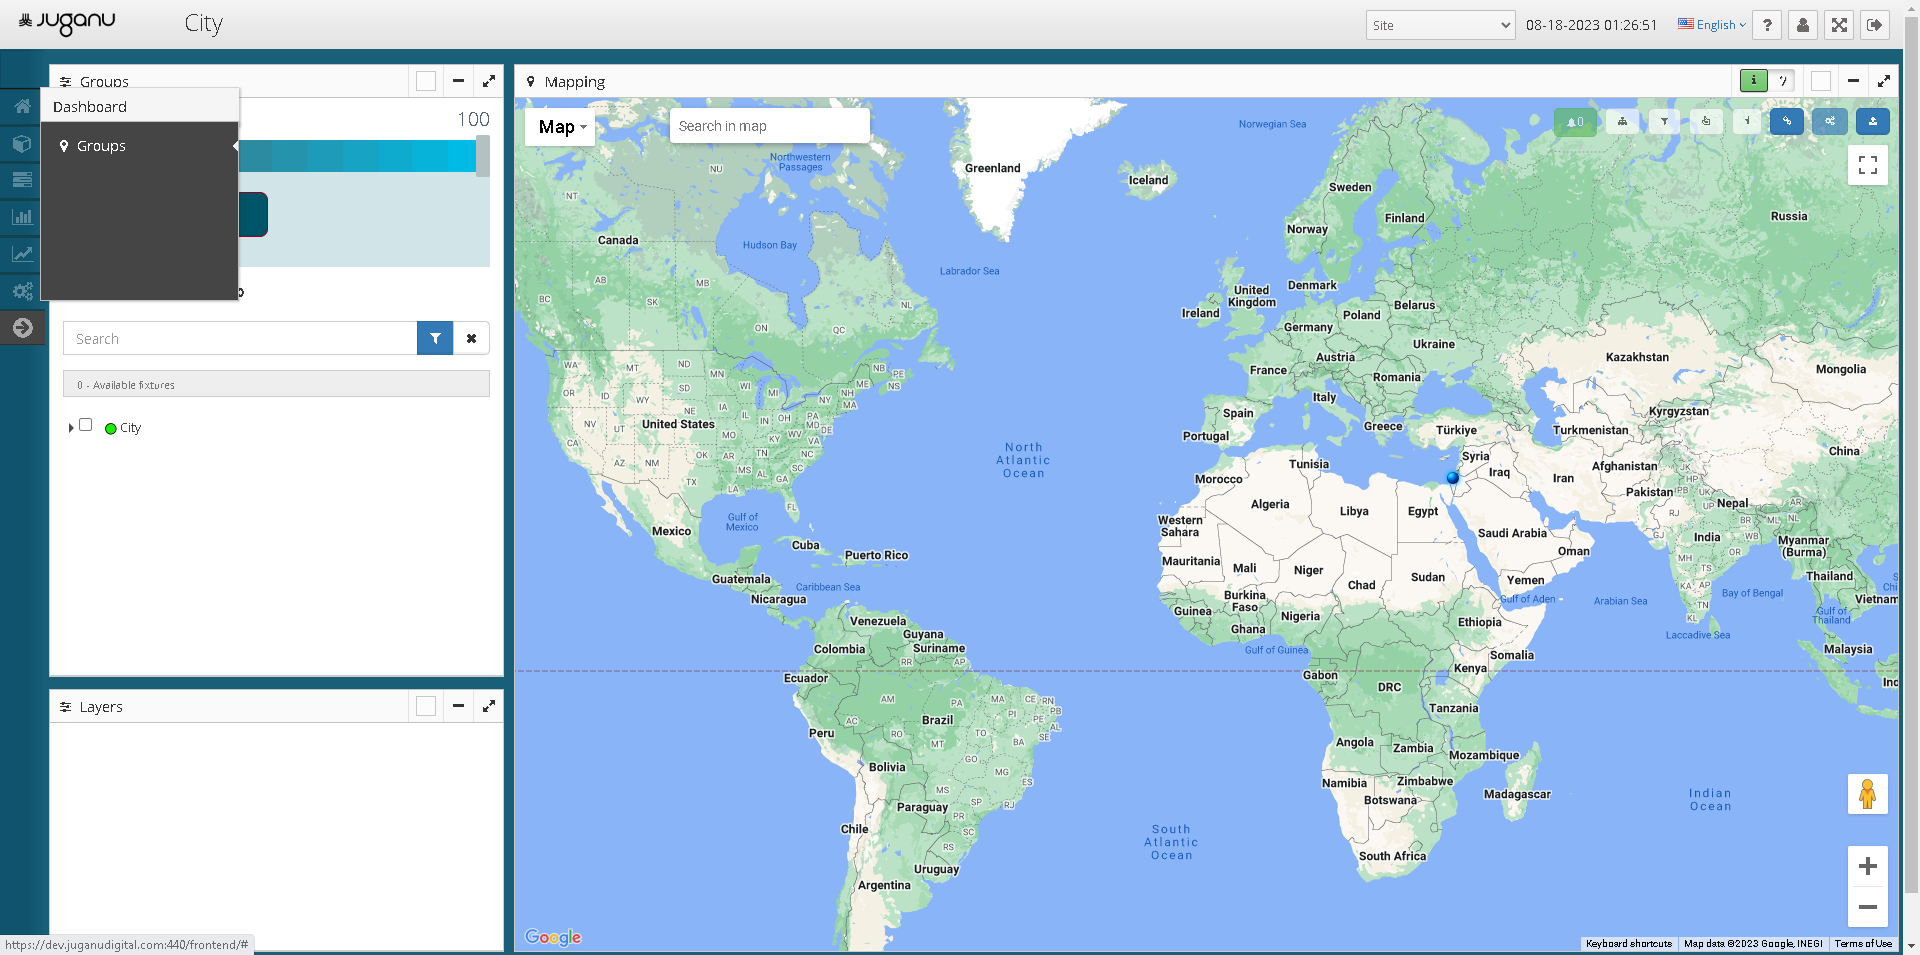
1.3.3 Main menu
Displays the list of sections manageable provided by the website for administration.
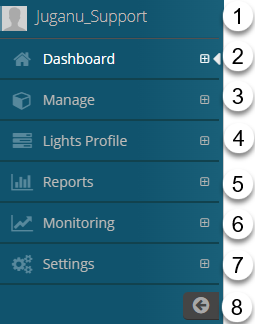
Name of the user who is managing the site is displayed.
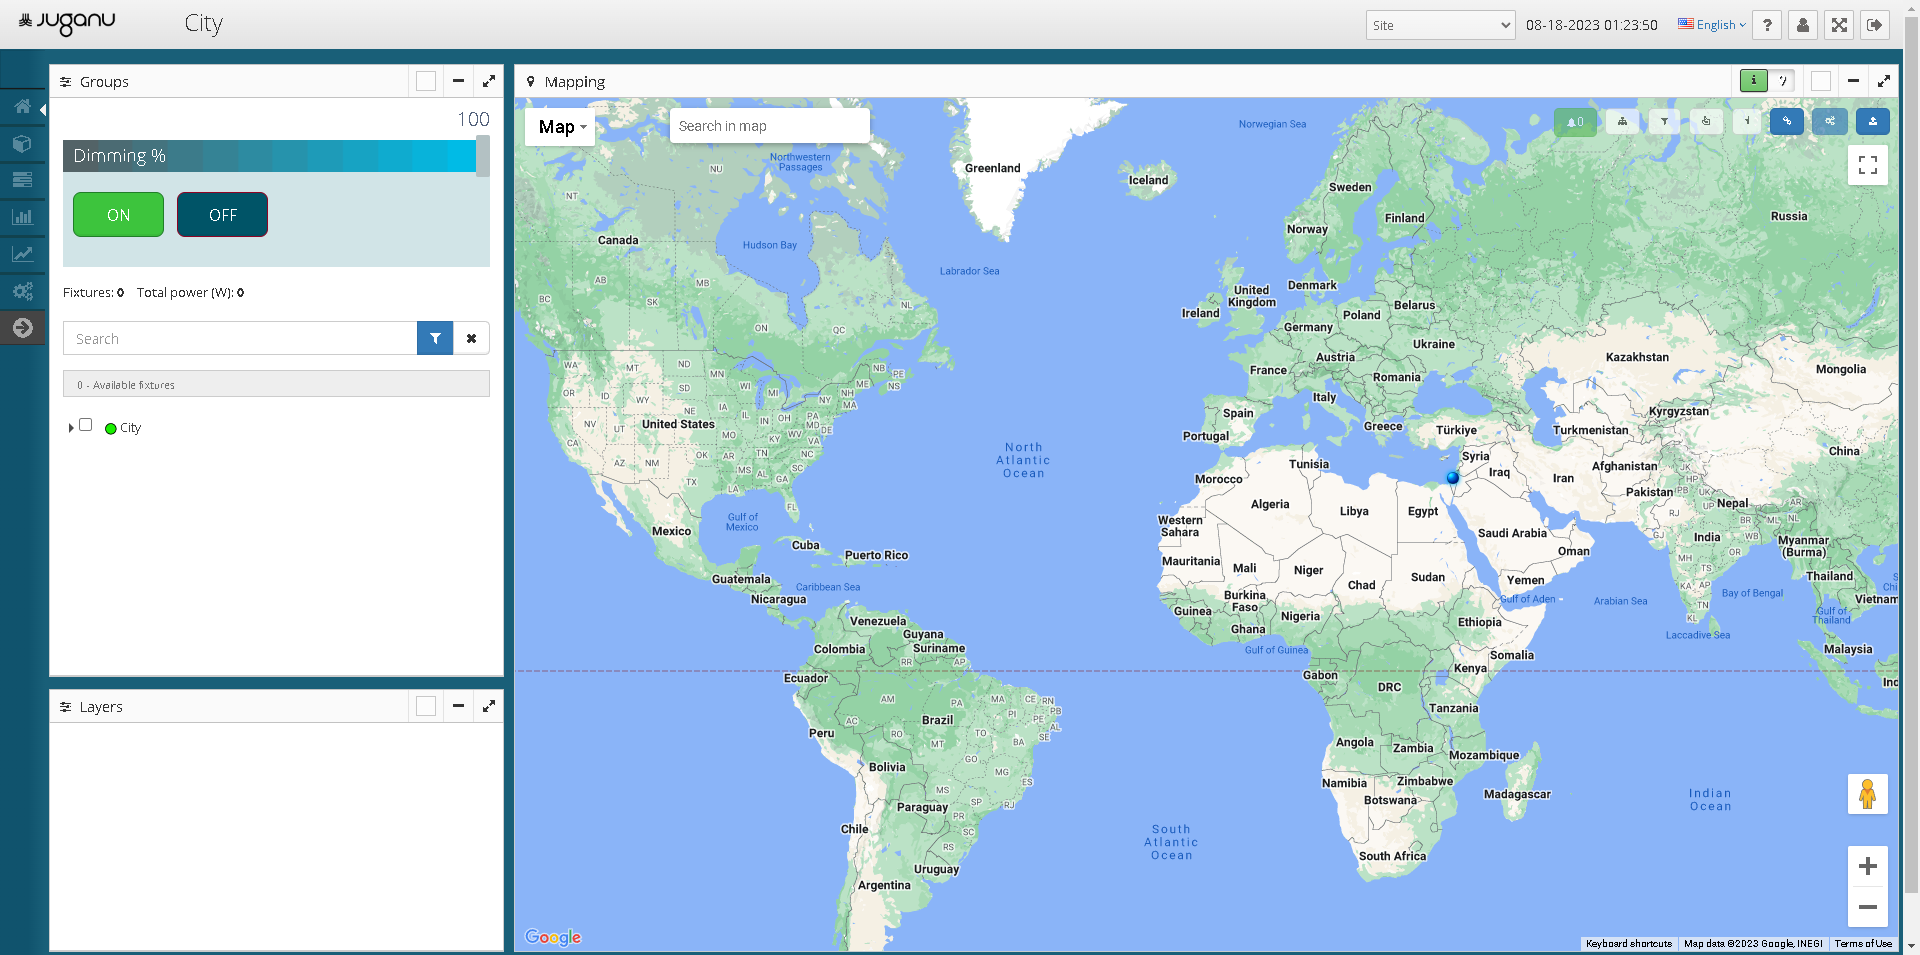
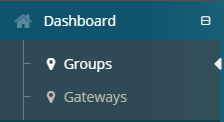
Main panel is shown where the site map can be seen. See Dashboard
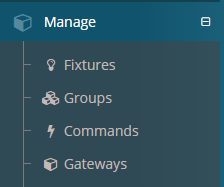
- Shows the different administrations that can be performed within the site. See Manage
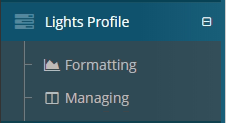
- Shows where the administration of the different lighting profiles of the fixtures can be done. See Lights Profile
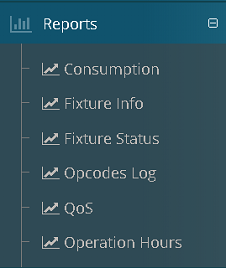
- Shows various reports that can be made to view and manage site information. See Reports
- Shows different LMS process that can be monitored like gateway status. See Monitoring

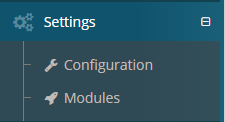
- Shows the configuration that can be done within the site, only allowed for Administrators. See Settings
- Shows or hides the left navigation panel, showing only icons.